Once Upon A Time

 Once Upon A Time

Hi there, here is my 5th and last Guest Design Team August 2023 layout for the  Lasting Memories Layout Blog

My daughter’s wedding was very different and therefore uniquely special. For this layout, I used 3 photos of her with the details of her dress and unusual guests highlighted.
First I had to choose the papers.


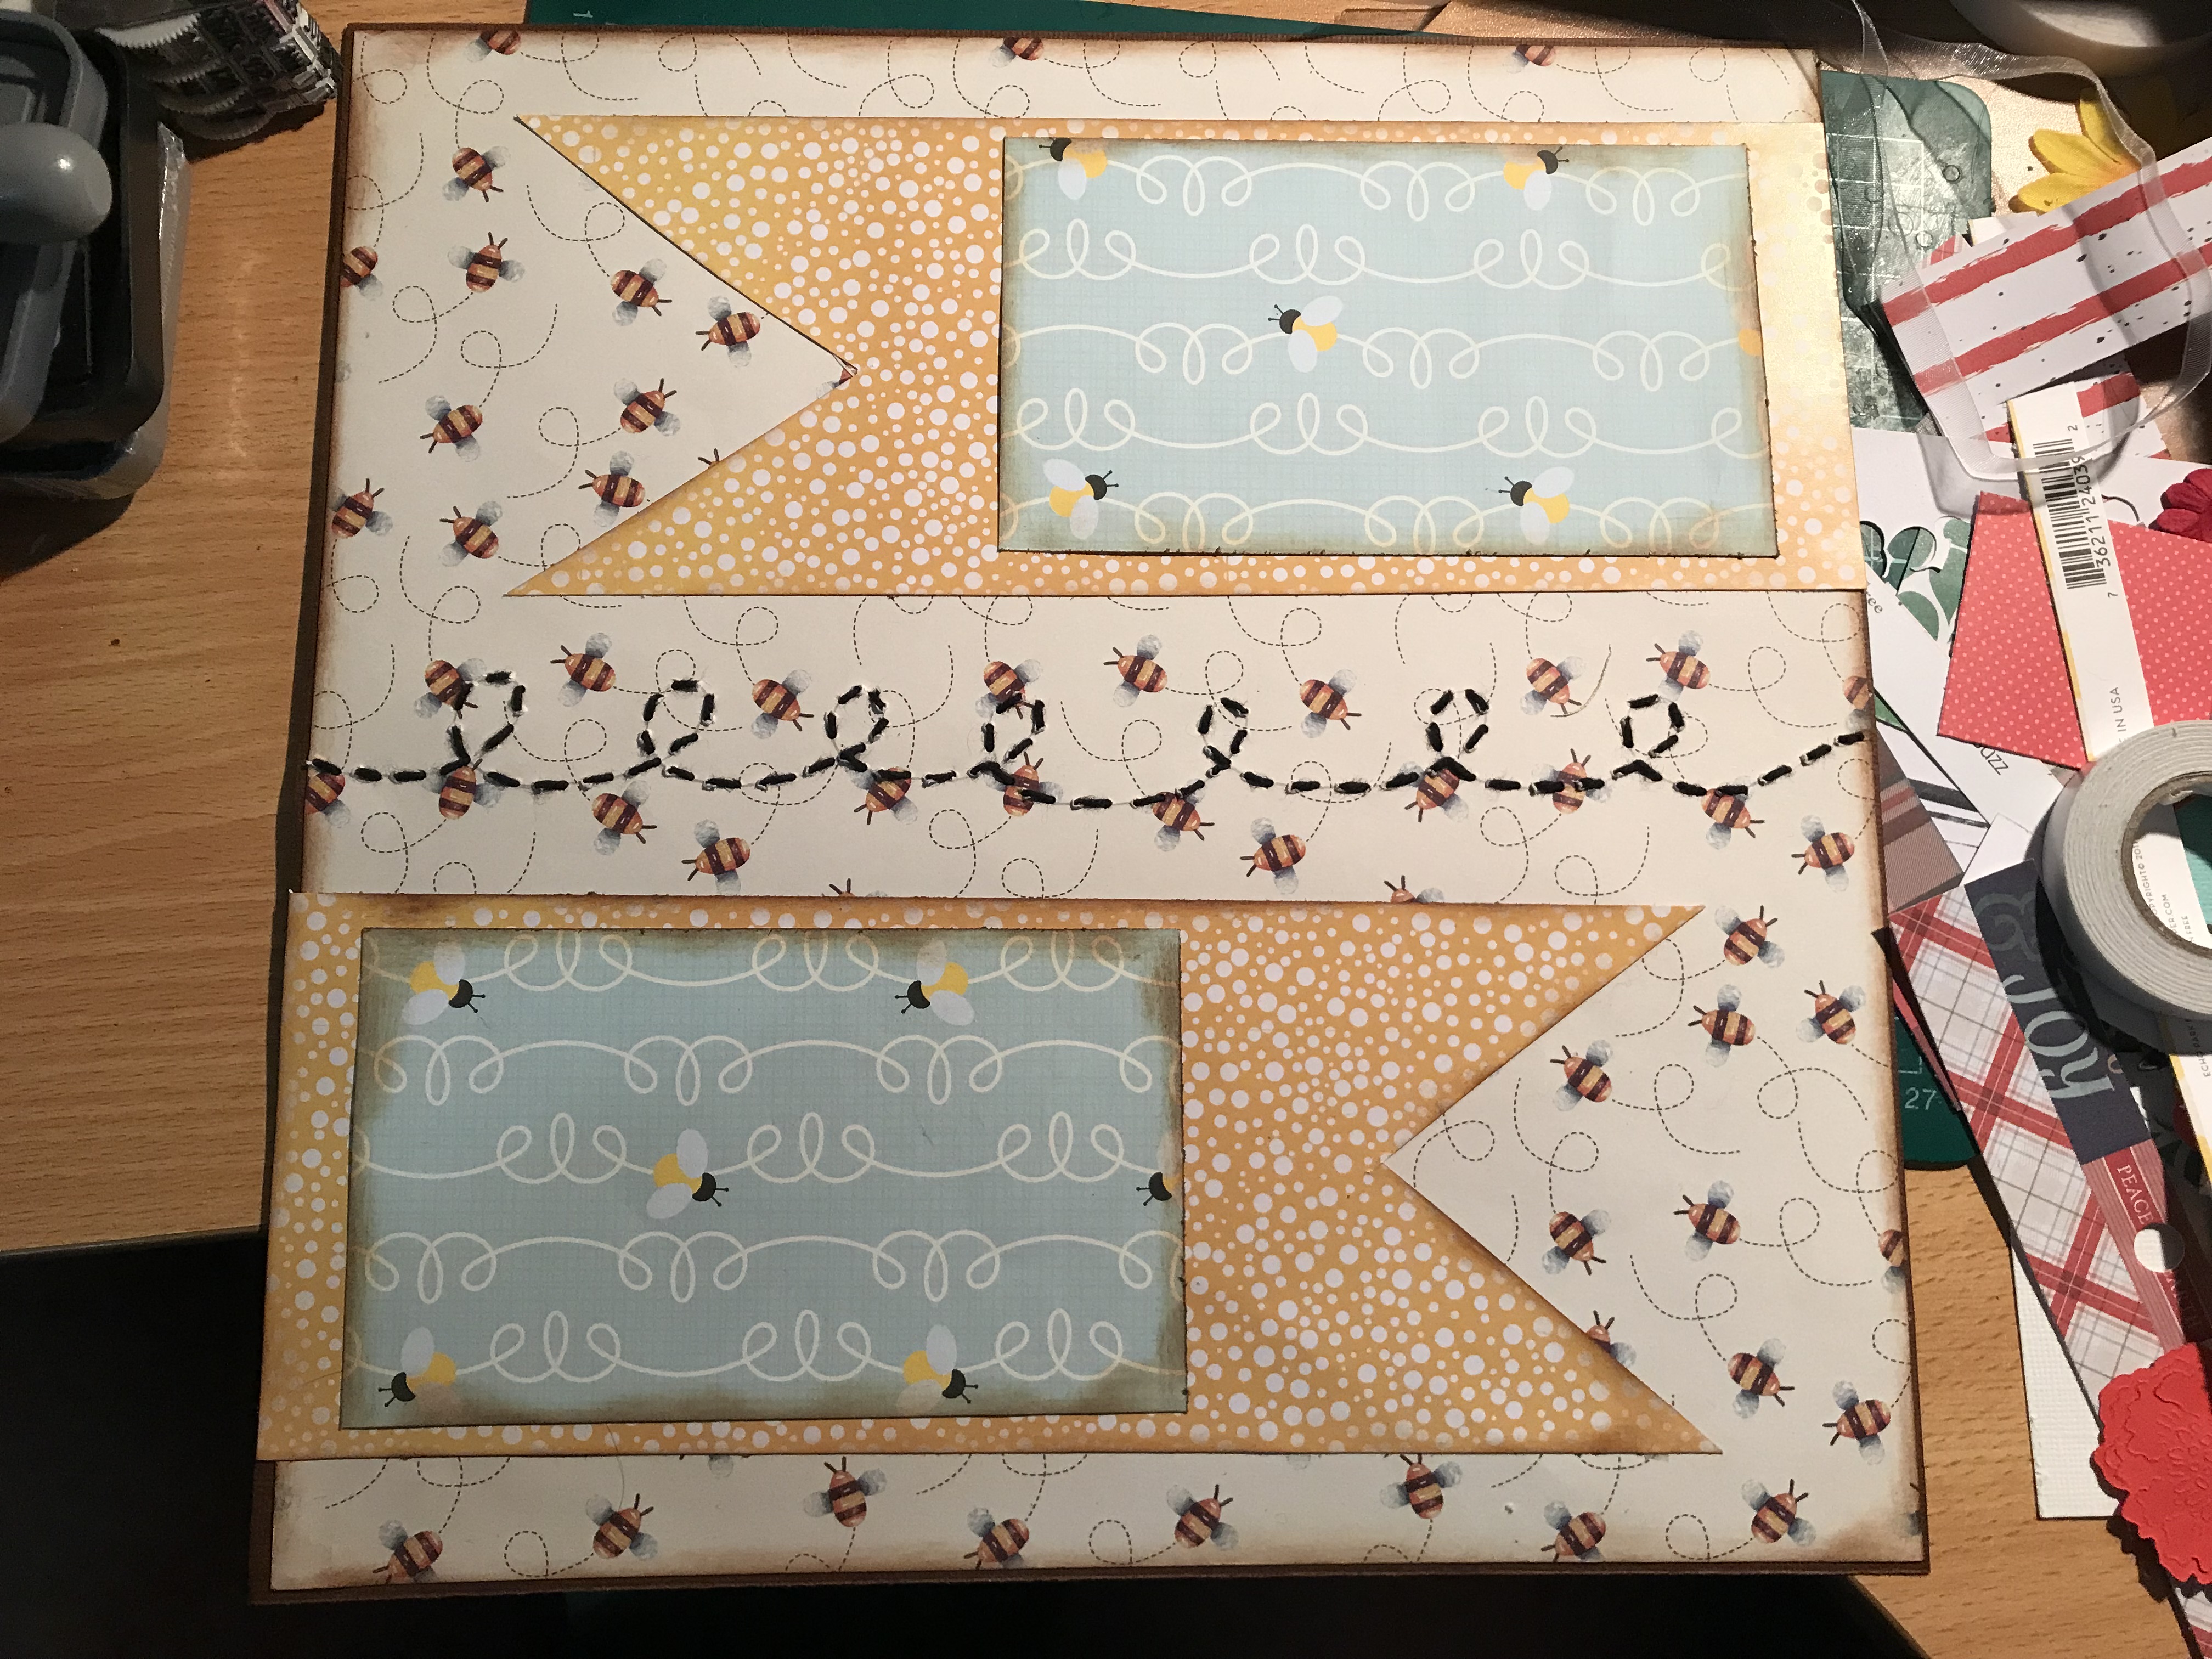
I had this sketch to work with.
After finding the right papers I then began laying out the layout.

Once happy with the main aspects of the design, I then added the photos.

Finally a blinged up the page with die cuts and stickles. I am very excited with how this turned out.
I love this photo spread and love how this all came together from the great sketch.
Thanks for looking. If you see anything that you like, don’t forget to follow and leave a comment.

Happy scrapping until next time.

💛Kathy

Everyday Moments August Design Team Layout

 Everyday Moments

Hi there, Kathy here with my August layout from @Scrapasketch.com.

Using Sketch Sketch # 86, I had fun creating a layout of my daughter and husband tasting honey from honeycomb for the very first time.

I stuck pretty close to the layout structure but added a few of my own touches to create dimension and individuality.

First of course - the papers. Now these change a bit throughout the process as I realise I need something different.


Next I cut the fish tails so that I can place out the journal line which I hand sewed to add dimension and trace the track of the bee. The fishtails I used a printable from Scrap a Sketch from the Summer collection. Perfect for this project.


Then I mounted my photos and started to layer up the elements of the layout. It really was quite an easy layout to work with.


I used Tim Holtz Gathered Twigs to distress the edges and this added depth.


And finally I hand journaled along the sewn bee line.

Thanks for taking the time to look. If you purchase anything from www.scrapasketch.com - printables or stencils - add my code KATHYLOVES2SCRAP10 - to receive a 10% discount.

If anything appeals to you leave a comment below and I’ll get back to you.
Happy crafting
💛Kathy


Remember Beautiful Moments Together

 August Week 4 - Memories that Last Blog Guest Designer Layout


Hi everyone this week I was assigned this layout sketch


This stumped me at first but then the ideas came.
First I had to decide on the papers. these were a combination of leftover scraps and American Craft papers.


After that I inked the edges in Mowed lawn distress oxide - Tim Holtz. This allows for depth and a shading technique I often utilise.


 Next I added ink splatters to the papers. From there I mounted the photos and added them to the layout. I then cut circles from the remaining strips and popped them up.


Finally I added the die cut title and dragonflies, popping these on another layer of die cut dragonflies. To add the final touch I added stickles and nuvo drops.


Thanks for stopping by. If you liked anything here don’t forget to visit the challenge on Lasting Memories Challenge Blog and leave a comment below.
💛Kathy


Our Little Flower Girl

 Our little flower girl 

Week 3 of August Design Guest at Lasting Memories https://kcclayoutchallenges.blogspot.com/

Using the following sketch

I created this layout of Ivy - our little flower girl at my daughter’s wedding. She had to be part of the day and this leant itself beautifully to this photo memory.

Starting with my papers and photo, 


I then had to punch out all of the hexagons I thought I would need. 


The plain card stock ones, I embossed to add texture.


Carefully laying out the hexagons and following the sketch I put the page together.


Sewing some hexagons and blinging others with gem stones added a different level of detail.

To finish off I used my Cricut Joy to cut the title in Design Studio.

Hopefully this inspires you a little. If so don’t forget to like.
Thanks for dropping by.

💛Kathy


 My Happy Place At the Beach

I used a sketch from Scrap a sketch # 67 to create this layout.


I pulled together all of the elements I thought I would need first and made sure they all worked. I do not work from range often and work by colour. I also made sure I had printables from the scrap a sketch premium range of printables ready to go.

From there I cut my strips of coordinating paper and started to map out the page.

Once I was happy with the spacing and layering, I cut my photo mat and laid it in place to check my dimensions.

From there I laid the photo and started layering the embellishments that I fussy cut from the Beside the Sea Icons and Elements printables from scrap a sketch premium.

Finally I topped the page off with a border in blue pen with details in lower right hand corner. For flair I added stickles at appropriate points. 

As you can see, it all came together in a clean and simple but effective design. Thanks for dropping by and checking out the process. If you found something to inspire, please like and come back soon.
💛Kathy

Books and Cleverness A layout using Magical Memories designed by Alicia Redshaw. Hi there it is Kathy from Kathyloves2scrap with a layout ...